Monday, October 27, 2014

WOOL APPLIQUE PREPPED

I have prepped the wool appliqué for the corners of "Faithful.  Nothing is sewn on yet and the corners  will not be sewn on until after I do the appliqué, but I thought I would just show you what I have done.


I have been stitching in the ditch on this Christmas quilt and plan to do something in the blocks too but haven't decided what yet.


I will be out of pocket for a couple weeks, so don't know if I'll be able to blog or not.  Don't forget the Bloggers' Quilt Festival!  Thanks for all the encouragement!

Friday, October 24, 2014

BLOGGERS' QUILT FESTIVAL - APPLIQUE CATEGORY

Today is the start of the Bloggers' Quilt Festival and I decided to enter my Baskets of Blue in the Applique category.  This is quite a step for me because it is the first all hand appliqué quilt that I have ever made!  

In December of 2012, I went to my favorite quilt shop in Waxahachie, TX, Common Threads, to spend a gift certificate that I had received.  That shop has lots of BOMs and classes, but I had never participated in any.  However, that day I saw this basket quilt hanging as a BOM and I fell fast.  I don't know what possessed me because I had never done much appliqué, but I loved that quilt, and signed up for the BOM (actually BsOM).  Each month I would receive fabric to make 12 little basket blocks and I started out by trying different methods of appliqué that I found on the internet. 

In the past I had taken a class on needle turn appliqué (when I first started quilting) and that convinced me that I didn't want to do it.  But I tried needle turn, I tried back basting and I checked out several youtube videos for different types of appliqué.  I finally settled on the spray starch method.  The prepping was much worse than sewing the baskets on, but I persevered and most months I kept caught up.  I was really excited when I finished it.

If you like it, I hope you will vote for "Baskets of Blue" on the Bloggers' Quilt Festival that starts today with voting starting November 1 until the 7th.


I quilted it on my domestic sewing machine and it measures approximately 65" square.


Please visit Bloggers' Quilt Festival  to see other quilts and to enter one of your own.  All the information on how to do it, when to do it and what prizes can be won is there.  You can enter 2 quilts during the festival.

Monday, October 20, 2014

FAITHFUL QAL AND QUILTING "OVER THE RIVER"

A year ago ("really?") Lori at Humble Quilts had a Quilt-A-Long - "Faithful."  I finished the top, but wanted to do something else.  For the last year ("really?") it has been on my design wall or somewhere in view while I tried to figure out how to do what I wanted.   My center block was on point, so it didn't look good sitting sideways and I needed to make corners so it would be upright.

Here is my first corner.


I made a freezer paper template and drew lines to sew it on using the paper piecing method.


When JoAnn at Canuck Quilts tutorial appeared, it seemed like it would work easily.  You can see her tutorial here.  Her instructions are extremely clear and this was a pretty simple PP project, so I followed her method.


It's real easy to remove the paper since it isn't actually sewn down!

Here is how my "Faithful" quilt is going to look - sort of.  I haven't sewn it together yet.  I plan to appliqué some wool flowers on each corner and want to do that before sewing the corners on the square.  I will also sew something in the open space of the basket.  I'm browsing through books now looking for appropriate flowers.


I have also been working on the quilting for "Over the River and Through the Woods."


The Bloggers' Quilt Festival will start on Friday and I'm going to enter my "Baskets of Blue" quilt.  Are you planning to enter a quilt?

Wednesday, October 15, 2014

OLD AURORA COLONY QUILT SHOW

Saturday I got an email from Lori at Humble Quilts saying that she was going to the quilt show at Aurora Colony and would I like to meet her there?  Of course!  I got the map out and looked it up on Yahoo maps, and used my GPS to make sure I would be able to get there.  It actually only took me 45 minutes to get to Aurora, OR from home.

While I waited for Lori, I walked around outside and took a few pictures.  It was a gorgeous day.


Lori arrived just when she said she would and we went inside.  My cell phone and the lighting didn't cooperate, so my pictures didn't turn out very well, but we did see some wonderful quilts.  To see other ones, you can go to Lori's blog.

Wool appliqué wall hanging.

My picture of the whole quilt didn't turn out, but this close-up did.
I love the way it was quilted!

The hand embroidered pictures in this quilt were very intricate.
An amazing quilt!

Some quilts were displayed in a "bedroom."
It was fun to actually get out into the countryside and go to this small town.  I really want to go back to check out all the antique shops.  We have been so busy getting settled, we haven't done much fun stuff.

Friday, October 10, 2014

SEWING ROOM REVEALED

I couldn't wait any longer to show you my sewing room (studio?)!  Not everything is organized yet, but all the major components are here.  WARNING:  long post that could bore you!

Here is the entry to my sewing room.  My Dear Jane poster is on the door and just inside, is a little quilt straight ahead.  If you don't turn to the right as soon as you enter, you will walk into a wall.  I posted about that little quilt and explained the hanging system here.

Entry to sewing room
As you enter and look to the right, this is what you will see

Entering sewing room
 Turning to the right you will first see the bookcase, then a closet and straight ahead is a cabinet.


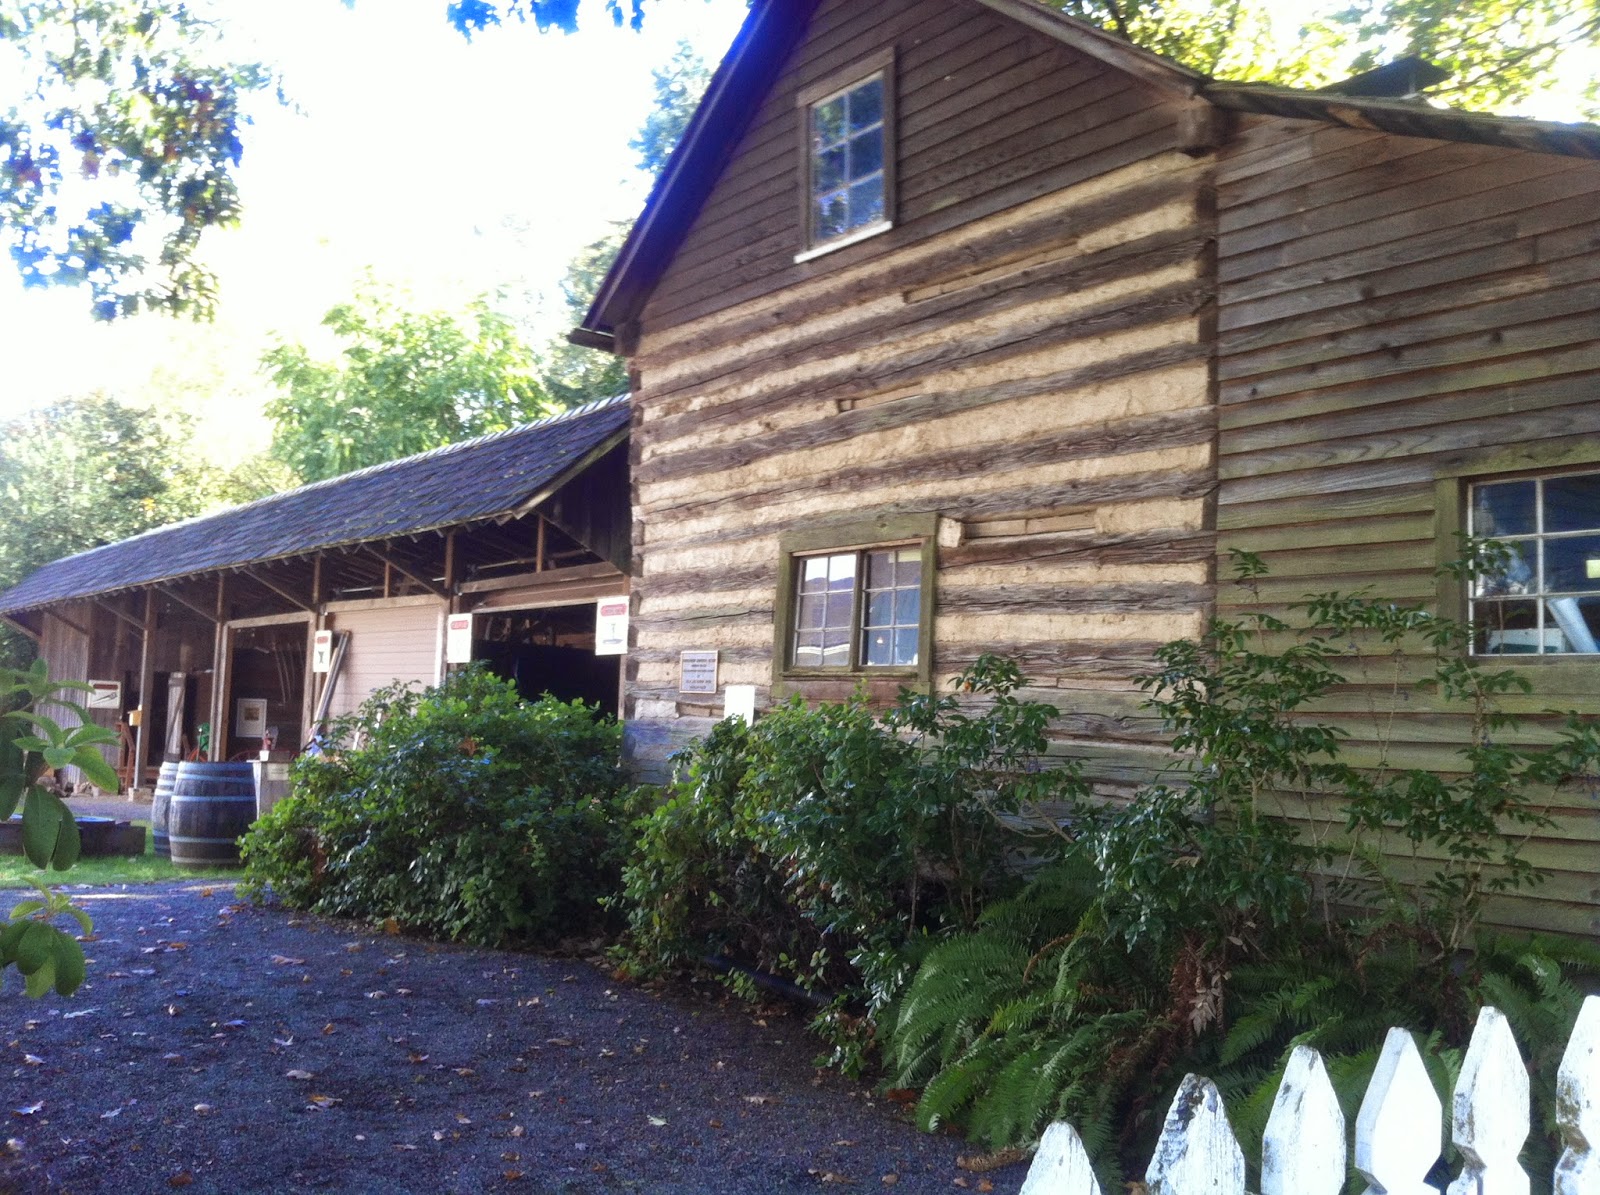
I have always wanted a quilt cabinet and I had one in Texas, but sold it (because we didn't know if we would be able to fit everything in a rented truck).  I found this one at a "barn" sale!  I like the faux pie safe inserts in the doors.  I like seeing my quilts piled inside and I am keeping most of my civil war fabrics in the top drawer.  On top is one of my Madame Alexander dolls from my childhood and a few other things.
Quilt cabinet
 To the left of the quilt cabinet is my ironing station, which is a chest of drawers that I bought at a garage sale for $5 and DH painted.  I then put an ironing board cut to size on top.


Above the ironing station I have some little quilts hanging from antique yard sticks and a knick knack shelf I got at an estate sale.


These little quilts are all made by me, except the one on the bottom right.  Joan, from Keeping you in Stitches, sent it to me.  The top left is a quilt I saw on Inspired by Antique Quilts.  Top right was a block of the week from Temecula Quilt Company.  Bottom left was leftover HSTs from a baby quilt and bottom middle was from the Jo Morton's Little Women's class that I attended in Arlington, Texas taught by Betsy Chutchian at the Lone Star Quilt Shop.

Little quilts hanging from antique yardsticks.
 The Knick Knack shelf has a sewing machine tea pot that my sister gave me, 2 more Madame Alexander dolls of mine and a few other things.  I still need find more things to put in it.


In the far corner is a computer desk that I got at a private sale.  It has what I wanted - room for my computer, a TV on the top shelf and underneath where you can't see it is a shelf for the printer.  When I'm seated at my sewing machine I can look right across at the TV or computer screen.  To the left is another little quilt from Jo's Little Women class, a quilt calendar and a hand painted barn with pegs to hang things on.

Computer Desk
If I turn around with my back to the desk, this is what I see.  My sewing table is right in front of me with the design wall behind it.


I love my sewing table and it is situated at the lightest spot in the room by the window.  Right in front of it is a doll bed which will probably be moved somewhere else, but I'm not sure where right now.


To the left of the window I have another doll quilt hanging from an antique wooden hanger.  The quilt is from Kathleen Tracy's book  American Doll Quilts.  Underneath is a counted cross stitch that I made of an Amish quilt auction.  I stitched that before I started making quilts.  Then of course, 2 thread racks and a cabinet with my serger on it.


Medallion Quilt and "The Auction"
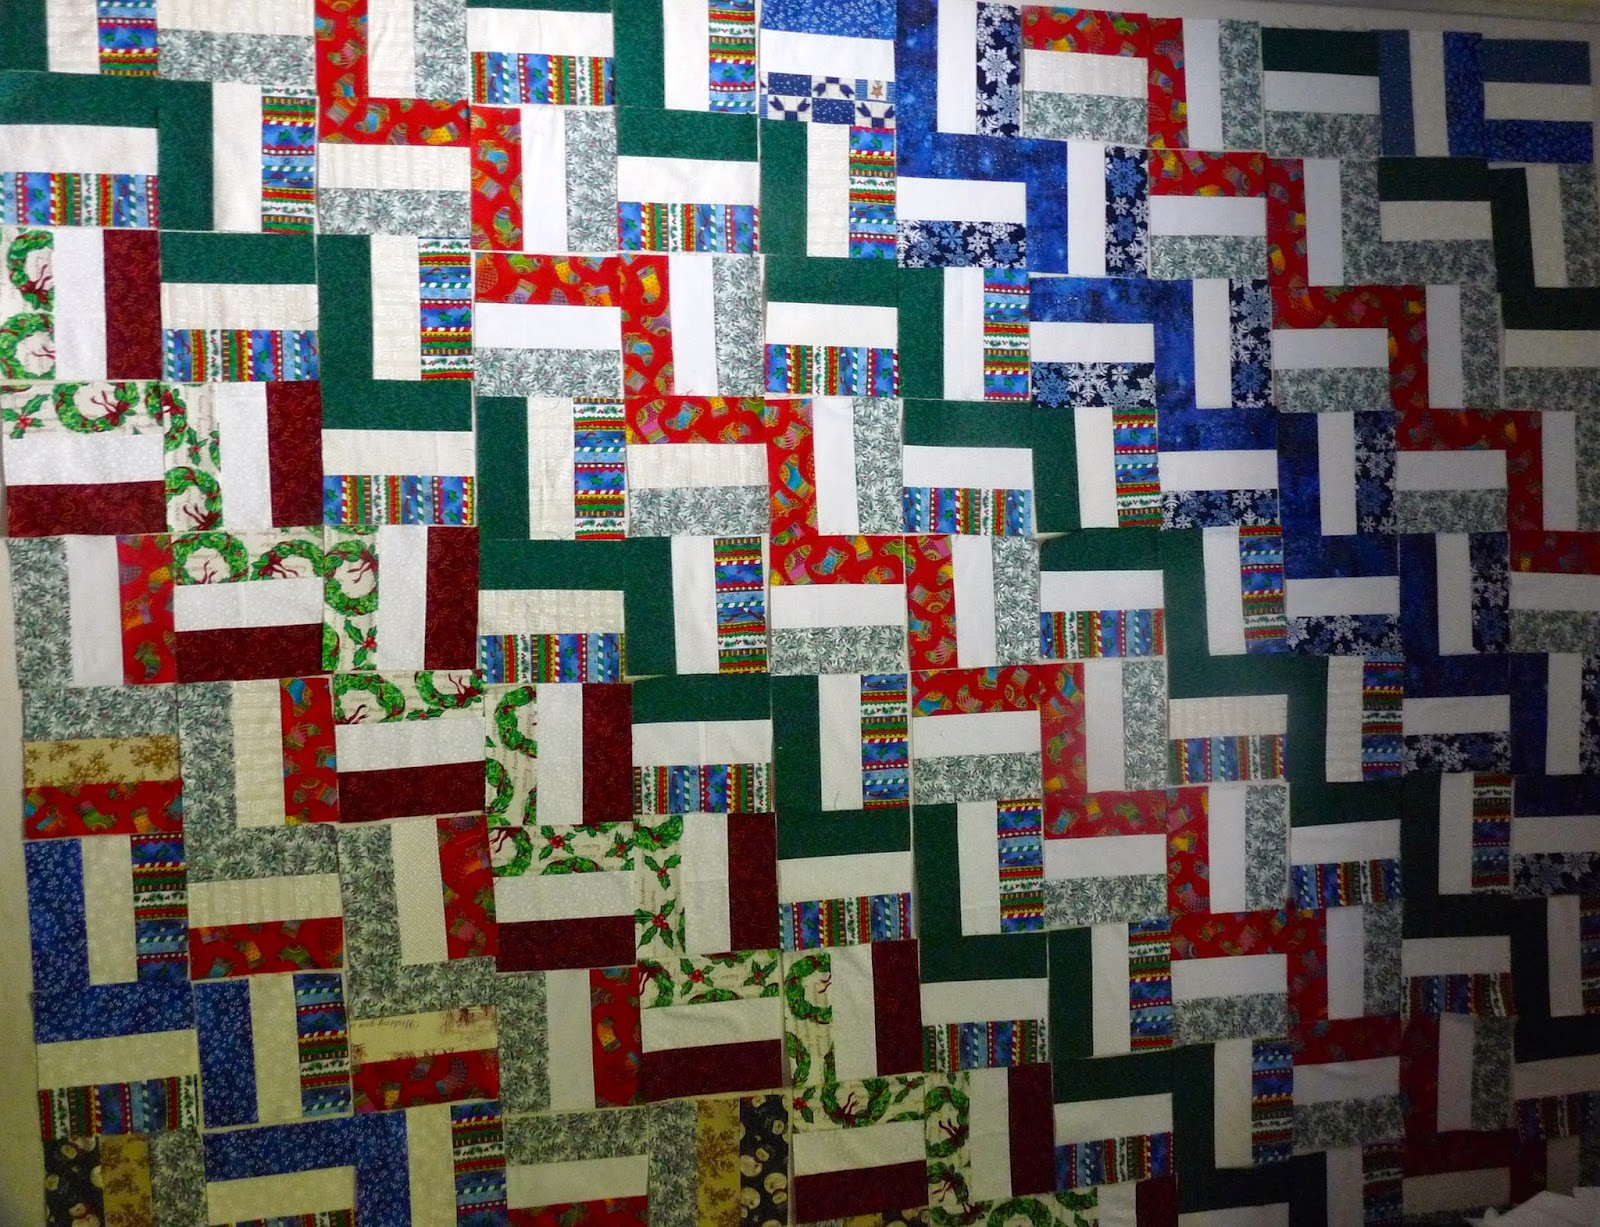
Around the corner is my design wall which you can see above and to the left of the design wall is a 9 hole shelf with 4 "baskets" in it and another shelf thing sitting on top.  All my stuff in these is not really organized yet, but in the bottom 9-hole shelf I have some magazines, thread, embroidery floss in the middle section, etc. etc.


This brings us back to the door and the bookcase to the left of the door (or if you are entering, it's to your right).  This isn't very well organized yet, either, except that I have put most of my quilting books and notebooks on the bottom shelf.  On top of it is a 4-drawer cabinet that has thread in it and on top of that are my jars of buttons.


Above the bookcase on the left is an octagonal wood that my sister painted using the Norwegian Rosemaling designs.  The yellow frame is what DH got for me and it has tiny clothespins to hang things, such as pictures, doll clothes, reminders, etc.


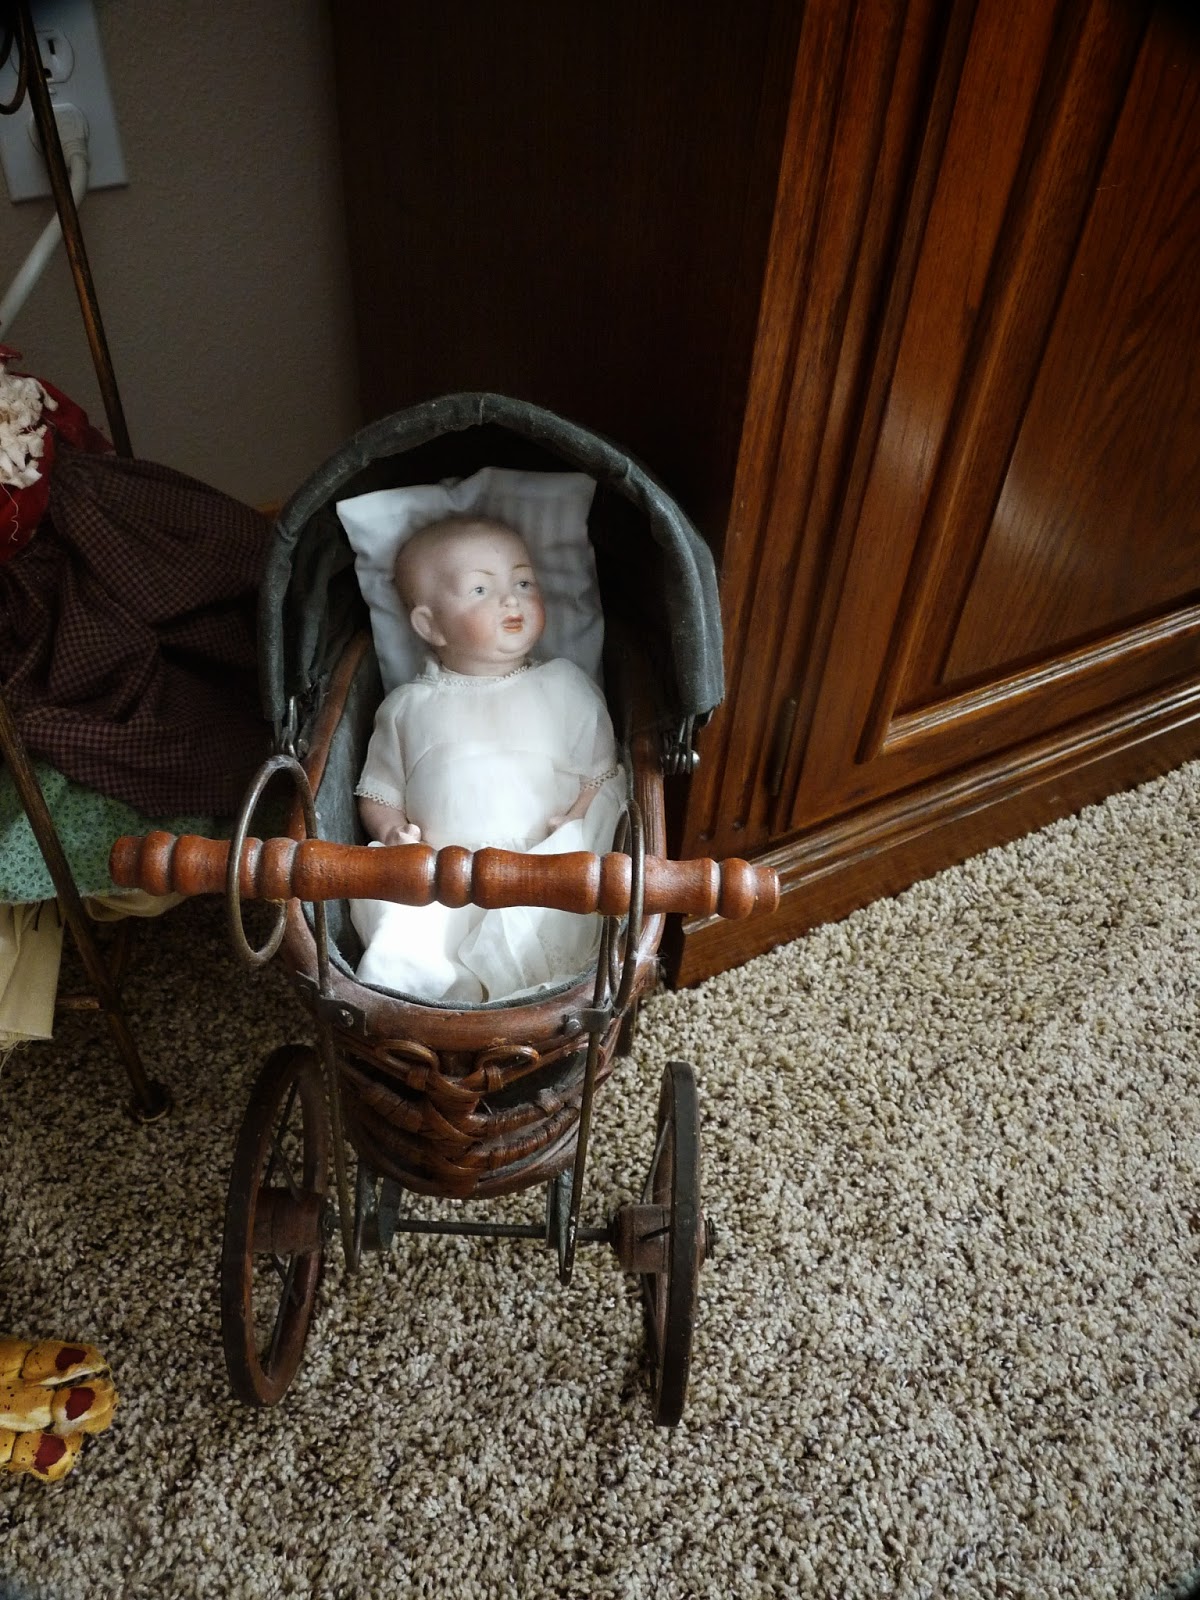
 By the way, I recently obtained this little buggy (guess where from)  the doll sleeping in the doll bed can sit in when she's not sleeping.


If you have made it this far without being totally bored to death, we are now at the end and you have seen almost all that there is to see in my sewing room.  Notice I left the closet doors closed as I don't want to shock you too much!

Thanks for visiting!

Thursday, October 9, 2014

9-PATCH SWAP RECEIVED!

Today I received the 100 9-patch blocks from Barb's at Fun With Barb block swap!!!  Wow!  They came fast and I am thrilled with them!


I can't believe that of all the 100 fabrics used, none were exact duplicates!  A couple were the same pattern but a different color.


Also, of all those fabrics, only 7 of them were fabrics that I either have now, or had in the past, but not necessarily the same color.  That is amazing!


Such a good variety!


Thanks, Barb!  This was really fun for us and I hope not too much work for you.  We do appreciate it!

Wednesday, October 8, 2014

USING DESIGN WALL!!

Since the design wall was up, I thought I would put up some blocks.  Last Christmas, the president of my guild in Texas gave us some 2 1/2" strips of fabric.  I didn't know what to do with them, so I just sewed them together and cut them into 6 1/2" rail fence blocks.  Well, I didn't have enough for a whole quilt, so I dug out my box of Christmas fabric to see what I could come up with.  I wanted to use fabric from stash.  I used white, plain or white on white, for the middle strip and used up some small pieces of white.  Then I had quite a bit of some different yardages, which I put together with white and pretty soon my design wall was full!


This is what got me going - the blue and white from my guild president.


I almost have the top together and will figure out something for borders, but there are 12 rows of 10 blocks each, which will measure 72" x 60".

As "leader/enders" I have started another quilt by Bonnie Hunter called Bow-Dacious.  I have am making some progress too.  The block below measures 9 1/2" square.  If I follow Bonnie's directions, I would need 49 of these blocks.  Along with the border, the quilt would measure 84" x 84".  I don't know how big I will make it.  I'm using all scraps for this so far.


These little parts of the larger block measure 4 1/2" square.


It doesn't seem like I'm spending any time at all on it using the leader/ender method.

What are you working on?  I still need to do more organizing, though, so I can't do too much sewing. I thought that while the blocks are up, I might as well sew them together, right?

Monday, October 6, 2014

HALLOWEEN PENCIL CASE

A week ago or so, I saw a really cute pattern somewhere - I think it was on Pinterest - and decided to make it.  You can get the pattern here.  

I actually made 4 of them, but forgot to take pictures until I only had one left un-packaged up.  This one is for my 6 year GD.  I made 2 for my 6 and 3 1/2 year old GSs. When my 22 year old GD saw them, she wanted one too, so I did make her one as well.


I'm also sending this little ceramic pumpkin - about 2" in diameter.  About 40 years ago, my Mom (or sister?) gave one each to my 3 sons and when I moved, I found them.  So, I'm sending them to each of the 3 youngest grandchildren along with their "Monster" pencil cases.


Saturday, October 4, 2014

I HAVE A DESIGN WALL!!!

A design wall has been a top priority of mine since we moved in and now it's a reality!  I am so HAPPY!!!  This will make quilting so much easier.  

Yesterday, we started working on it.  DH did the major grunt work.  We bought 2 panels of insulation which were 4' x 8'.  We had to cut one foot off each panel and then the second panel also had one foot cut off the side, so my total design wall is approximately 7' x 7'.  

After cutting them to size, we used spray glue to stick flannel on one side.  Then folded it to the back and secured it with duct tape.  Thanks so my friend Claudia in Texas, who gave me the instructions!  Most blocks will stick on the flannel, but if they are too heavy, I can also hold them on with pins stuck into the panel.

DH then secured them on the top and the bottom with metal Z strips.  I had to see some blocks on it so I put up my DJ blocks.  


The color of the walls show up good in these pictures.  It's a light yellow.  My window is on the north side of the house and I will also need to add some additional lighting.  One step at a time!


Here you can see the whole design wall which is right behind my sewing machine chair, so it will be very handy.   I still can't show you the whole room, but it shouldn't be too long, I hope.


I have all the furniture that I need in the sewing room now, but I still have more organizing to do and some additional things to hang up before I am ready for the full reveal.   Monday we're taking a short trip to the coast so it will probably have to be after we get back.

In addition, we're trying to get some yard work done and have had some grass seed planted.

Hope you are having a wonderful weekend!